After the rear ring was dry, it was sanded flat with the end of the engine mount tube. Again, the Easy Touch block made it easy sanding both surfaces flat around the engine hook.
TIP: The engine block ring got a BradyCros notch to fit flat against the top of the engine hook bend.
TIP: On the left you can see some dried glue around the outside green edge. the fit of the block ring was loose. Sometimes a ring of white glue can add enough to the outside diameter for a friction fit.

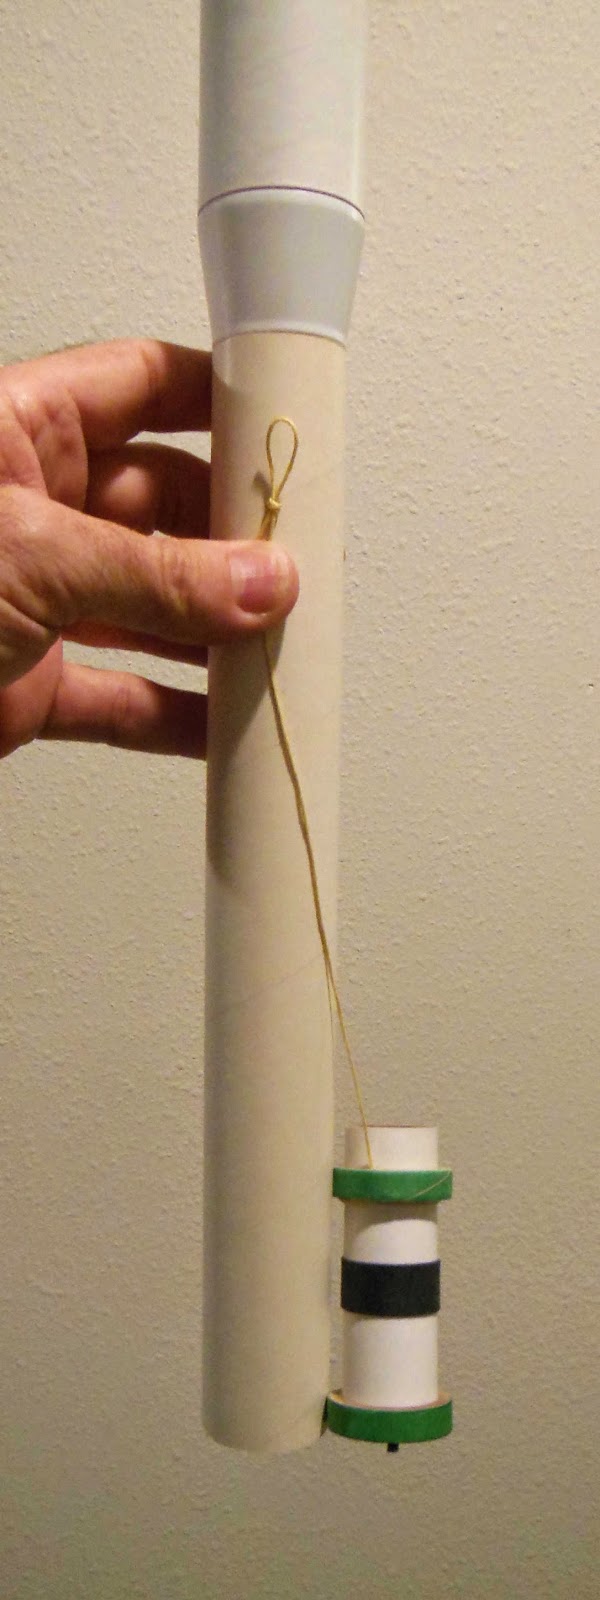
TIP: I learned this from a Sirius Rocketry kit. A simple solution to know how long the interior Kevlar line should be.
Set the engine mount outside the body tube letting the Kevlar extend along the body tube. Tie a loop knot below the top of the body tube end.
At the bottom, another deviation from the instructions.
Instructions: On the left, the rear ring even with with the body tube end.
Changes: The inset picture has the mount set inside the tube edge.
When gluing the mount in, a ring of glue is applied with a marked dowel for the forward ring. There will be no glue left to hold and glue the rear ring in place.
The mount will be set forward by 1/8" so a fillet can be applied to the rear ring / inside body tube joint.
Sometimes there is little hook movement on a 50/55 engine mount. (Or a 20/50 engine mount) Try sliding an engine in before deciding to recess and glue the mount inside the main airframe body tube.


No comments:
Post a Comment